The store will not work correctly when cookies are disabled.
We use cookies to make your experience better.To comply with the new e-Privacy directive, we need to ask for your consent to set the cookies.Learn more.
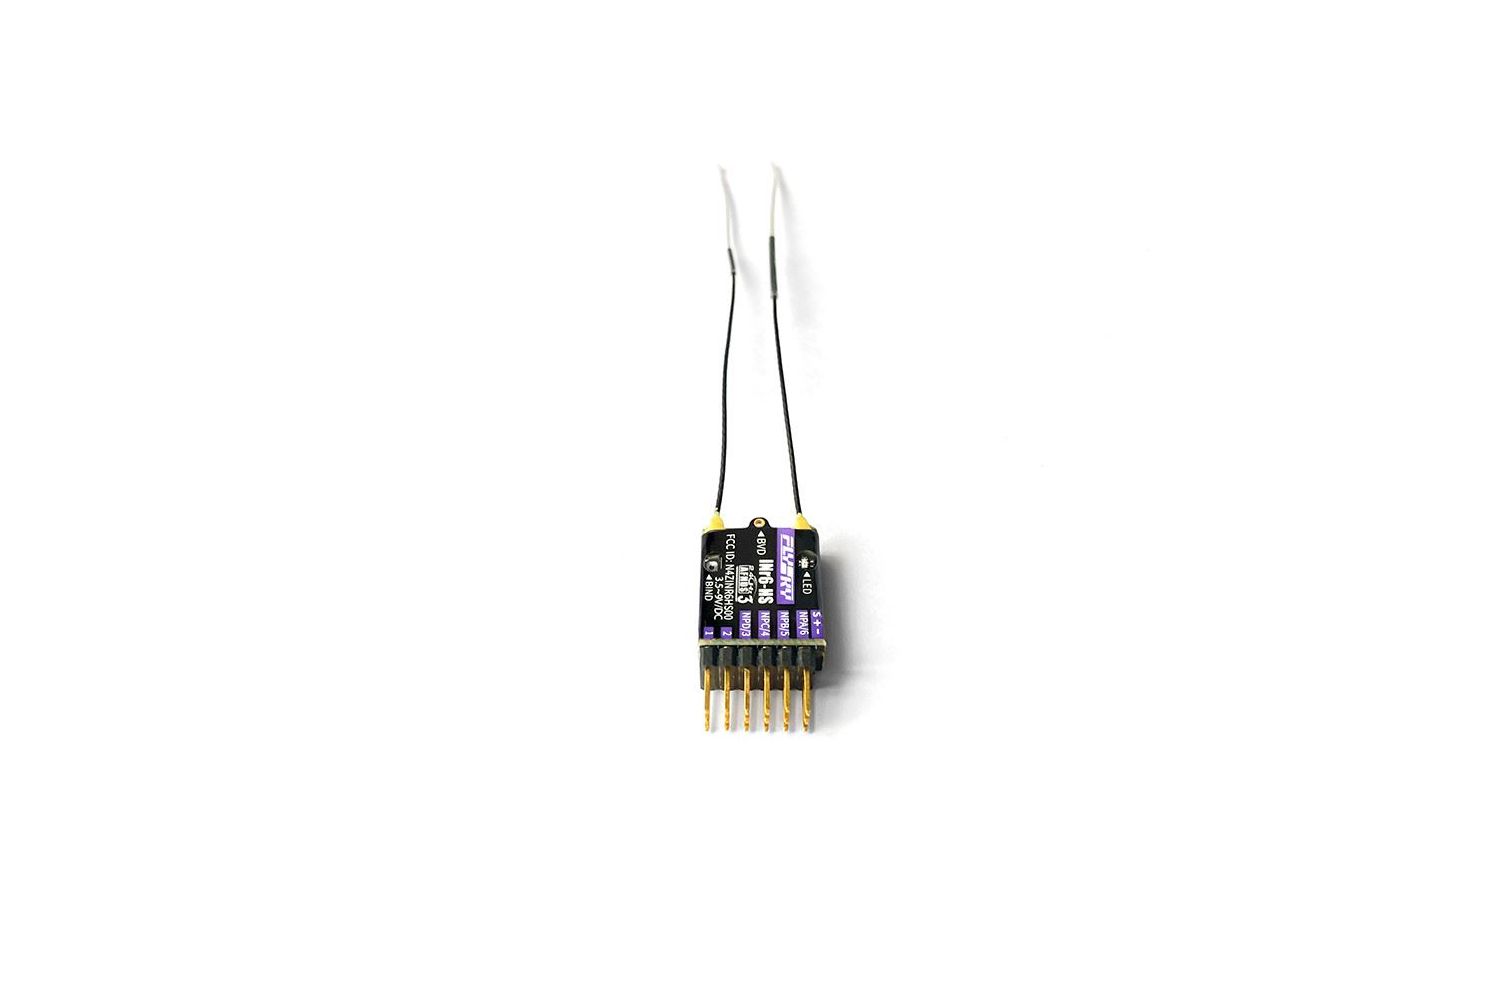
The INr6-HS receiver adopts Flysky's third-generation automatic frequency hopping digital system (AFHDS3). lt uses a dual-antenna bidirectional transmission system, with a built-in Height Sensor and is uniquely designed to install. It supports 4 Newports function interfaces the Newports interface can be customized with the input or output signal type:i-BUS2/S.BUS/i-BUS/PPM,etc.).lt adapts all transmitters which support AFHDS 3 protocol.
Specifications:
Brand Name: FlySky
Item Name: INr6-HS RC Receiver
Model: INr6-HS
Dimensions: 18*16.8*6.0mm
Weight: 3.0g
PWM Channels: 6
RF: 2.4GHz
2.4G Protocol: AFHDS 3
Range: >1000m (in the air, no interference)
Antenna: Dual Antennas (92.5mm,ipex4 interface)
Input Power: 3.5-9V
Data Output: PWM/PPM/i.BUS/i.BUS2/S.BUS
BVD interface: YES
Height Measurement Range:-500—9000m
Graduation value: 1m
Temperature Range: -10℃ to +60℃
Humidity Limit: 20%-95%
Online Update: Yes
Certification: CE,FCC ID:N4ZINR6HS00
Compatibility:
The receiver is compatible with all transmitters which support AFHDS 3 protocol. (Note: The high-frequency library includes version2.0 and 3.0, the RF version of the transmitter must be the same as the RF version of the receiver.)
Support TX to set the channel number of the first interface output of RX
Binding:
Put the transmitter to enter the binding mode.
Press and hold the receiver BIND button[10] while powering on the receiver, release the BIND button after the receiver is powered on or powering on the receiver first, then press and hold the BIND button for 3 seconds, the LED [7] of the receiver will flash rapidly, indicating the receiver is in bind mode.
The binding process is complete when the LED of the receiver stops flashing and is on continuously.
- If a transmitter that has had its radio frequency (RF Standard) set to“AFHDS3 1 way"(please refer to your transmitter user manual) enters bind mode, the LED will instead flash slowly. Exit bind mode on the transmitter manually and if the LED of the receiver stops flashing and is on continuously, the binding process is complete.
Check to make sure the transmitter and receiver functions are working correctly, and repeat steps 1 to 3 (binding process) if any problems arise.
Instruction:
After the receiver has completed the binding, the function of its height sensor can be set and used.
Select [BasicMenu]-[Sensor] on the transmitter, and click the height option in the sensor settings;
In this interface, you can set the current, highest level, low alarm value, and high alarm value within the specified range. Please zero the"current" before using it.
Note: The altitude recorded by this altitude sensor is relative altitude, not absolute altitude.


 Compare
 Wishlist